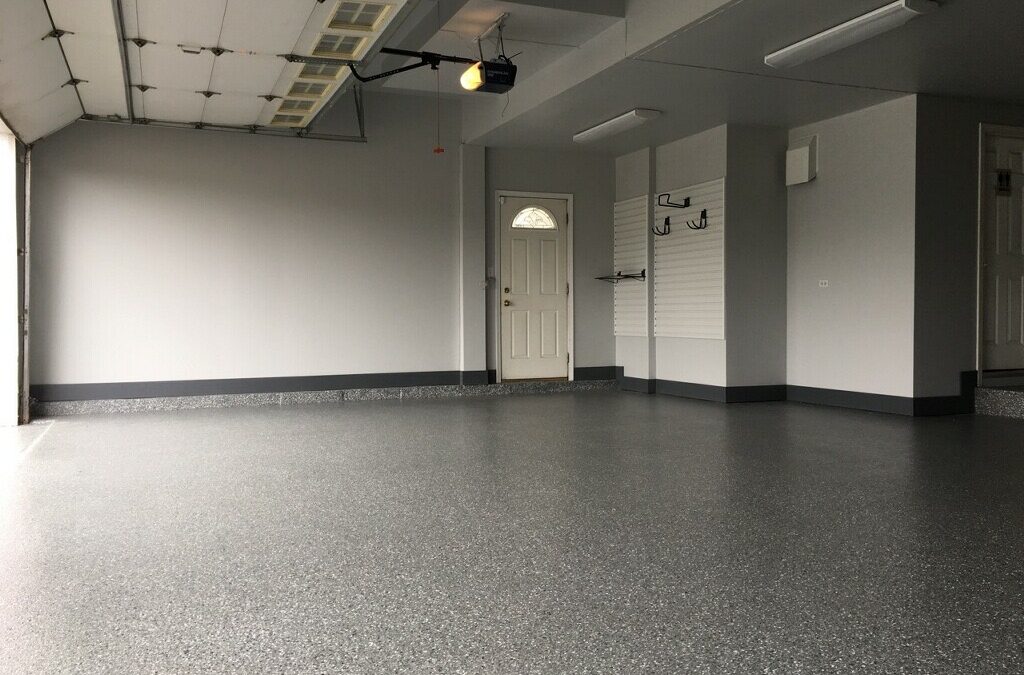
DIYers often look for ways to make their homes better and more attractive. Epoxy flooring is a great way to do that, but it can be intimidating to install. This article will provide all the information DIYers need to know to install epoxy flooring in their homes. It’ll cover the steps involved in preparing the subfloor, choosing suitable materials, applying the primer, laying the epoxy, and sealing the floor. With these steps, DIYers can successfully install epoxy flooring in their homes and make them look better than ever!
Preparing the Subfloor
Before beginning the installation process, you’ll want to ensure the subfloor is properly prepped to ensure a successful outcome. This means removing any existing flooring, such as tile, carpet, or vinyl, and ensuring the subfloor is clean, dry, and level. If the subfloor is not level, make sure to fill in any gaps or dips with a self-leveling compound. It’s also important to remove any wax, paint, or residue that may be present. Finally, make sure to seal any cracks or joints in the subfloor to prevent moisture from seeping in.
Once the subfloor is prepped, it’s time to start laying the epoxy flooring. It’s essential to make sure the product you’re using is appropriate for the subfloor and is installed according to the manufacturer’s instructions. It’s also important to take measurements and plan accordingly to ensure a proper fit. Taking your time during the preparation process will help ensure a successful outcome.
Choosing the Right Materials
If you’re looking to upgrade your floors, choosing suitable materials is crucial – and it doesn’t have to be intimidating! When installing epoxy flooring, there are several materials you should consider. The most important is the epoxy itself, which comes in a variety of colors, styles, and finishes. You’ll also need to purchase a primer, a hardener, and a sealer. It’s important to choose these materials carefully, as the wrong combination can lead to a floor that’s not adequately sealed or protected. Additionally, you’ll need to make sure you have the right tools, such as a trowel and a roller, to apply the epoxy properly. Lastly, you’ll need to decide if you want to add decorative chips or flakes to the epoxy, for a unique finishing touch. With all of these options available, it’s easy to create stunning epoxy flooring that will last.
Applying the Primer
Don’t worry – applying the primer for your epoxy flooring doesn’t have to be complicated! Before you begin, make sure that the area you are applying the primer to is clean and dust-free. You can use a vacuum cleaner to get rid of any dirt or debris that may be present. Once the area is clean, you can begin to apply the primer. Depending on the type of primer you are using, you may need to mix it with water or other liquids. Be sure to follow the manufacturer’s instructions for mixing and applying the primer. Once the primer is used, it should take about 24 hours to dry completely. After that, you can begin to apply the epoxy coating.
Laying the Epoxy
Layering the epoxy is a breeze – just ensure you take your time and do it right! Before you apply the epoxy, it’s important that you clean the floor thoroughly. Removing dust, dirt, or grease will help ensure the epoxy adheres properly to the surface. Once the floor is clean, you can start applying the epoxy. You’ll want to use a roller brush to spread the epoxy across the entire floor evenly.
Make sure to apply a thin layer of epoxy. Too thick of a layer can cause the epoxy to crack. After the first layer has been applied, let it sit and dry for the required amount of time before you apply the next layer. Repeat the process until you have the desired number of layers. After the last layer has dried, apply the sealant to protect the epoxy and give it a glossy finish.
Installing epoxy flooring is a great way to give your floor a new and updated look. With the proper preparation and careful application, you can create a durable and stylish floor that will last for years.
Sealing the Floor
Once you’ve laid the epoxy, it’s time to seal it off to give it a glossy finish and ensure its durability. Sealing the epoxy floor is a simple process but requires patience and time. It’s important to use the proper tools and materials to get a high-quality finish that will last. First, make sure the floor is completely dry and clean before sealing. Use a vacuum or a broom to sweep away any dirt or dust.
For best results, use a sealer that’s specifically designed for epoxy, such as a polyurethane-based sealer. Apply the sealer in thin coats using a roller or brush. Allow each coat to dry thoroughly before applying the next coat. Once you’ve completed all the coats, let the sealer cure for at least 24 hours before walking on the floor. Afterward, you should have a beautiful, glossy epoxy floor ready to enjoy.
Key Takeaways
- Proper surface preparation is crucial for a successful DIY epoxy flooring installation. It involves a thorough cleaning, repairing any cracks or damages, and ensuring a smooth and level surface to achieve optimal adhesion and a professional-looking finish.
- Following the manufacturer’s instructions and guidelines is essential when working with epoxy flooring. This includes accurately measuring and mixing the components, applying the epoxy evenly, and allowing sufficient curing time for optimal results.
- DIYers should prioritize safety during the epoxy flooring installation process. This includes wearing appropriate protective gear such as gloves and goggles, working in a well-ventilated area, and following proper handling and disposal procedures for the epoxy materials to minimize health risks.


Recent Comments