
Polished Concrete: How It’s Made
Polished Concrete: How It’s Made

But how do concrete contractors install this highly versatile floor? That’s what we’re here to explain!
In the article below, we’ll discuss polished concrete and how concrete polishing is performed so you can better understand this flooring system and whether or not it’s right for your space. Continue reading to learn more!
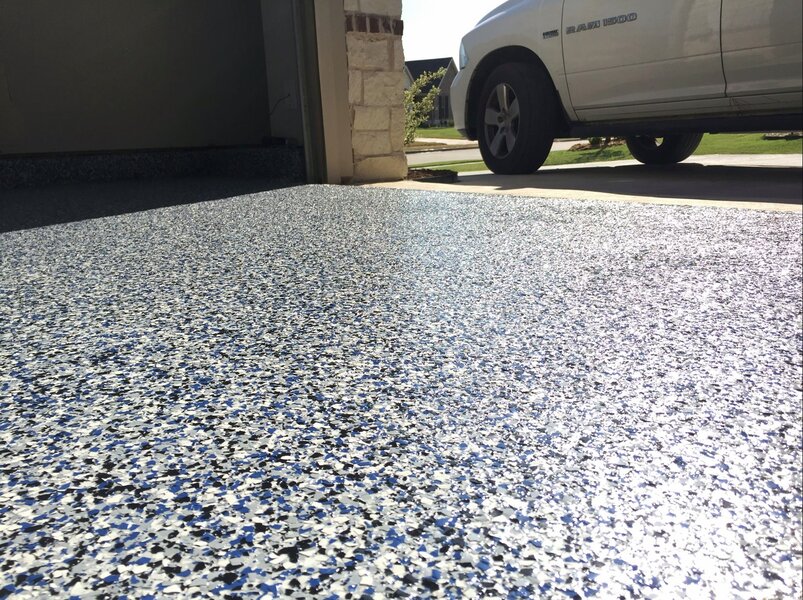
What is Polished Concrete?
Benefits of Polished Concrete
- Durability: The concrete polishing process hardens the concrete, making a much more durable surface that’s resistant to various impacts, abrasions, and high volumes of foot and vehicle traffic.
- Resistance: Concrete polishing actually makes concrete non-porous, meaning it will repel various liquid substances, such as chemicals and water, to prevent stains and damage.
- Longevity: Polishing concrete adds years to its lifespan. This process is an effective way to get the most out of your concrete floors by ensuring they last for decades!
- Ease of Maintenance: Maintaining a polished concrete floor is effortless! This floor is quick and straightforward to keep it clean, only requiring daily sweeping or dust mopping, weekly wet mopping, and spot mopping as needed.
- Energy Efficiency: The high gloss finish of polished concrete makes its surface highly reflective. This reflective nature allows home and business owners to utilize fewer lights to achieve the same visibility! As a result, you’ll notice lower electricity bills with this reflective flooring solution!
The Concrete Polishing Process
Cleaning and Inspection
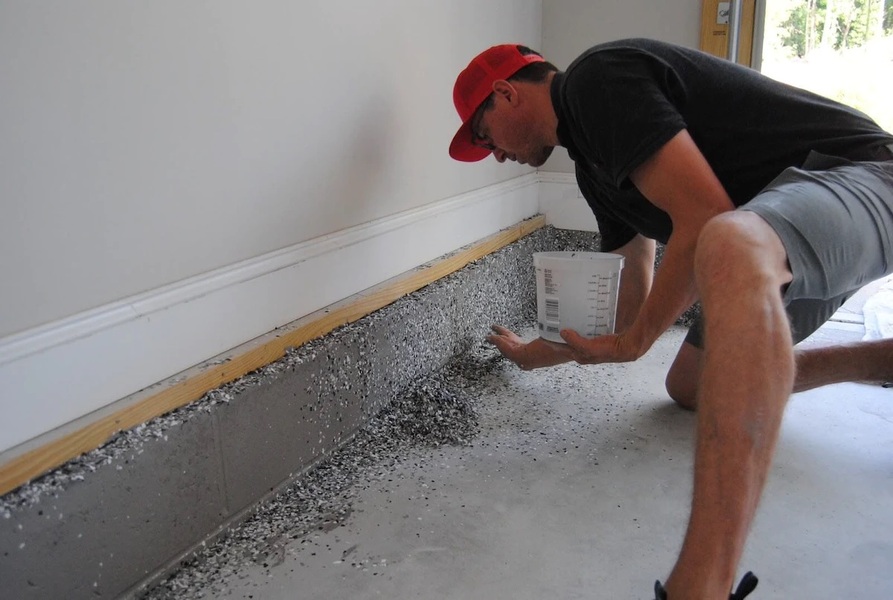
The polishing process begins with your concrete floors being thoroughly cleaned and then inspected for damage. If any damage, such as cracks, chipping, or flaking, is discovered, it’ll need to be repaired before the floor can be polished.
Repairs
Repairs are a crucial part of the process as any damage will tarnish the finish on the floor and possibly make the polishing ineffective. Cracks are typically repaired using an injectable epoxy filler to prevent the cracks from spreading or worsening. Chipped and flaking areas are usually fixed using a concrete patch the covers and seals the damage.
Rough Grinding the Concrete
With repairs complete, the polishing process can truly begin. This starts with rough grinding the concrete in a three to four-step process. In most cases, the coarse grind starts with a 30 or 40-grit diamond grinding wheel and finishes with a 150-grit. The purpose of the rough grind is to remove any minor blemishes, stains, or pits from the floor in preparation for the fine polishing.
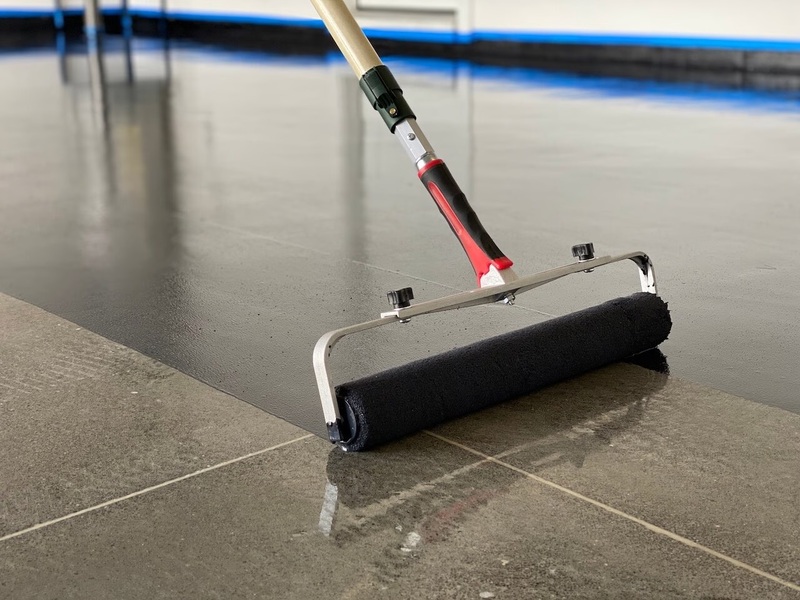
Sealing the Concrete
After the rough grinding has been finished, an impregnating sealer is applied to the floor that soaks into the concrete, protecting it from the inside out. This sealer hardens and densifies the concrete, making it more durable and non-porous.
Fine Polishing the Concrete
The fine polishing is the last part of the process and is a four to five-step process. It typically begins with a 100 or 200-grit resin-bond polishing wheel and is switched out to ever-finer grit wheels with each pass. Most floors are finished with a 1,500 to 3,000-grit polishing wheel, depending on the level of sheen you want your floor to have.
Once the last polishing pass has been made, your floor is ready for full use!
Finishing Up
Comparing the Pros and Cons of Different Garage Floor Coverings
Are you considering covering your garage floor? Before you make a decision, let's explore the pros and cons of different options. Epoxy coatings offer durability and a sleek finish, but concrete stains may have drawbacks in terms of maintenance. Interlocking tiles...
How to Install a Garage Floor Covering: Step-by-Step Guide
Are you tired of looking at a dull and worn-out garage floor? It's time to give your space a much-needed makeover. In this step-by-step guide, we'll show you how to install a garage floor covering that will not only protect your floor but also give it a stylish and...

Pros and Cons of Epoxy Floor Coverings
Are you considering epoxy floor coverings for your home or business? Look no further! In this article, we will explore the pros and cons of epoxy floor coverings. You'll discover the durability and low maintenance of these coverings, as well as their resistance to...
A Comprehensive Guide to Garage Floor Covering Options
Looking to upgrade your garage floor? This comprehensive guide will walk you through the various options available for garage floor coverings. Discover the benefits of each, factors to consider when making your choice, and explore popular options like epoxy coating,...

The Pros and Cons of Epoxy Floor Covering for Garage Floors
Are you considering epoxy floor covering for your garage floors? Before making a decision, it's important to weigh the pros and cons. Epoxy offers durability, protecting your floors from spills and stains. It also enhances the aesthetics of your garage, giving it a...