Epoxy Flooring: What is it and How is it Installed?
Epoxy Flooring: What is it and How is it Installed?

But what is epoxy flooring? How do they install epoxy floors?
If you’ve only heard of this durable flooring system, we’re here to give you the answers you need! In this article, we’ll explain what exactly epoxy flooring is and how epoxy flooring contractors install this floor. Continue reading to learn more!
What is Epoxy Flooring?
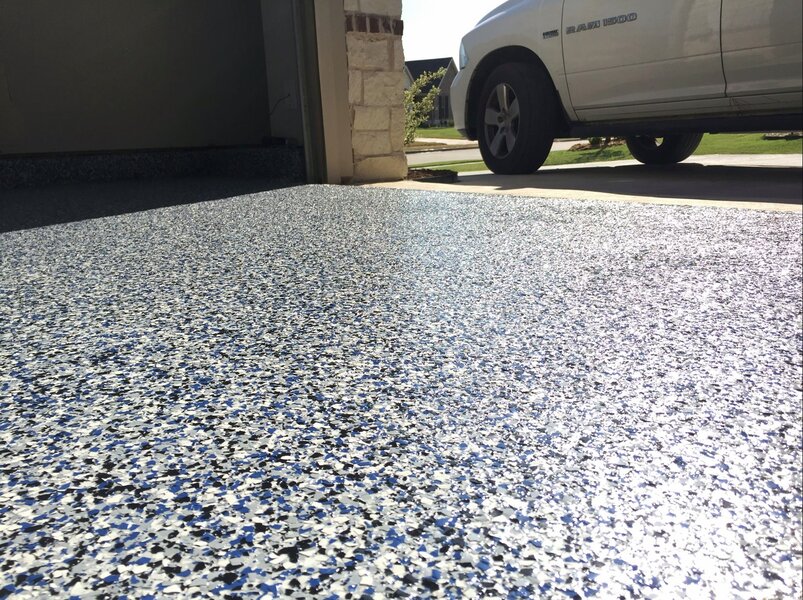
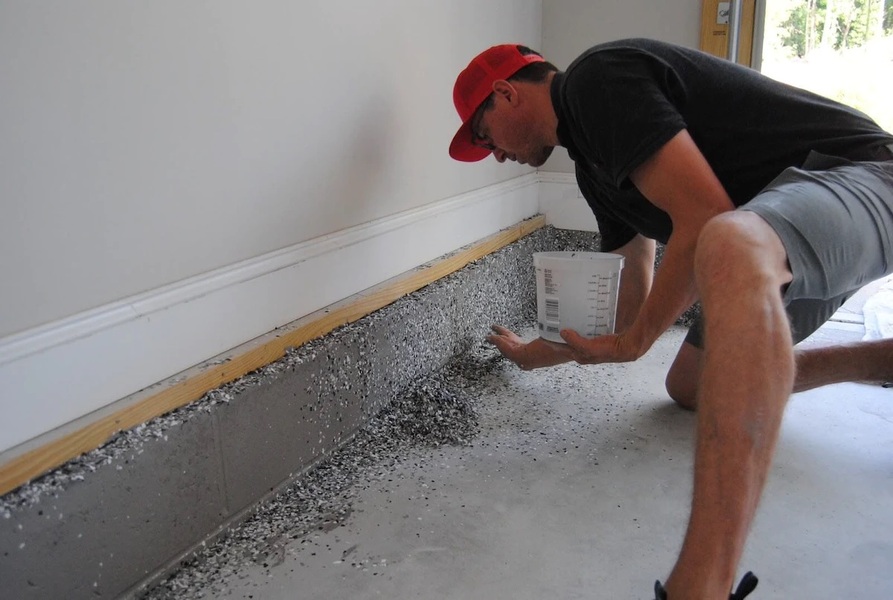
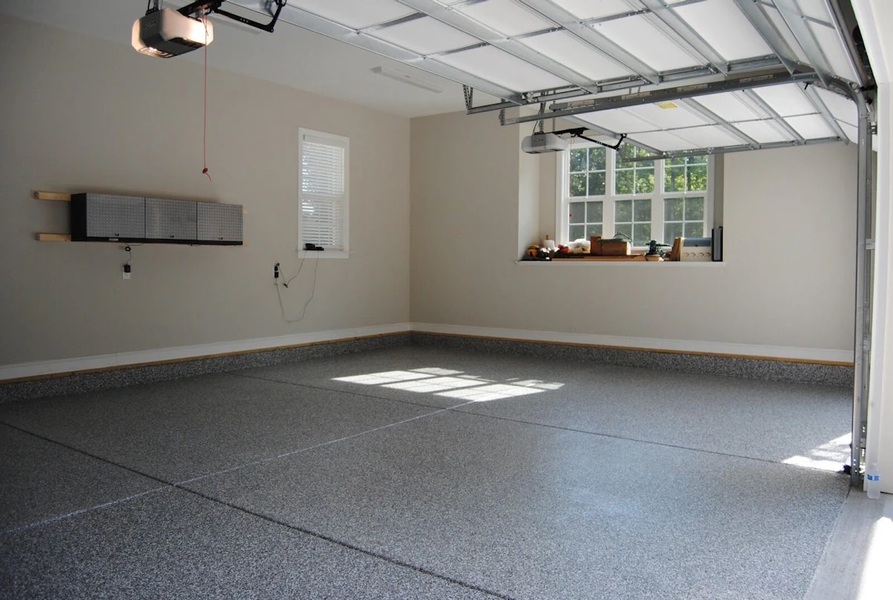
There are several epoxy flooring styles, including standard epoxy, metallic epoxy, and decorative flake epoxy. Each brings its own unique look and pattern options. Though they all share the same excellent benefits of increased durability, longevity, and resistance.
The Installation Process for Epoxy Flooring
Cleaning and Inspection
The epoxy flooring installation process is a multi-step process that begins with cleaning and inspecting your concrete substrate for damage. If any damage is present, such as cracks, chipping, or flaking, it’ll need to be repaired before the surface prep can begin. Minor blemishes don’t need fixing as they’ll be handled during the surface prep as well.
Repairs
All substantial damage to the concrete needs to be repaired as it can negatively impact the final product of your epoxy floor. Cracks are usually fixed using an injectable epoxy filler to prevent them from worsening or spreading. Chipped or flaking areas are typically repaired using a concrete patch that’s applied over the damaged area. Once these repairs are complete, the surface prep can start.
Surface Preparation
The purpose of preparing the surface is to remove any minor blemishes from the concrete and to ensure proper adhesion between the concrete and the epoxy resin. Surface prep is typically completed one of two ways, floor grinding or shot blasting. The most common choice is to use a floor grinder fitted with a diamond grinding wheel. However, some contractors may prefer shot blasting.
Pouring the Epoxy
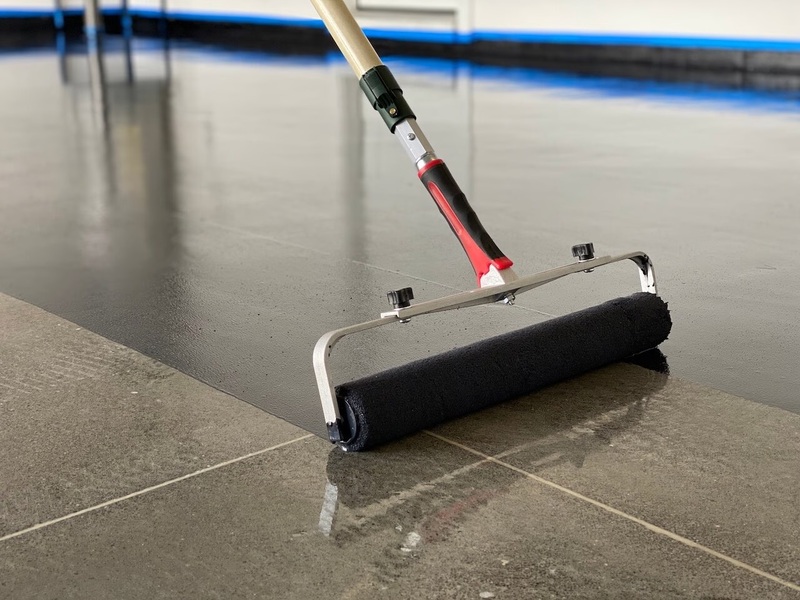
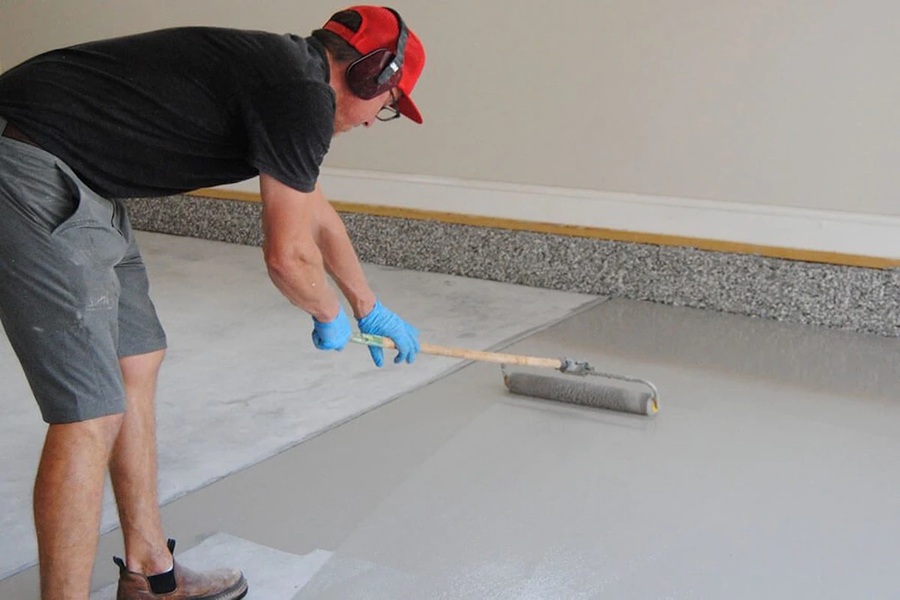
After the concrete’s surface has been prepped, the epoxy resin is mixed and poured over the concrete base. Several layers will be applied to reach your particular floor’s desired thickness, accounting for the final clear topcoat. As the epoxy is poured, any patterns you wanted for the floor will be made using specialized tools before finishing the floor. Once the desired thickness has been achieved and the designs are in place, the next step can begin.
Finishing with the Clear, Epoxy Topcoat
The floor is finished using a clear, epoxy topcoat. This topcoat seals everything in place, including your patterns, and gives your floor some depth. Once this last layer of epoxy is poured, your floor is all but finished!
Curing
The last part of the installation process is allowing your epoxy floor to cure. Curing is the process where the epoxy dries and hardens. In most cases, the floor can be walked on in 24 hours. However, the epoxy floor isn’t 100% cured and ready for full use, including vehicle traffic until 72 hours.


