
Epoxy flooring is a popular choice for many businesses and homes because of its durability and low maintenance. Unfortunately, even the most rigid flooring can take a beating from high foot traffic and can become damaged.
Thankfully, there are tips and tricks for repairing damaged epoxy flooring that can help bring your floor back to life. Whether your floor has minor scratches and chips, or significant wear and tear, you can make repairs to your epoxy flooring to bring it back to looking like new.
This article will provide 10 tips for repairing damaged epoxy flooring so that you can get the most out of your floor.
Assess the Damage
Look at the floor and determine how bad the damage is – then you’ll know what steps to take next!
Carefully examine the epoxy floor, looking for cracks, chips, or deep gouges. If the damage is extensive, you’ll need to take more steps to repair it. If the damage is localized, you may be able to fix it with a simple patch. Pay close attention to the edges of the room since epoxy flooring may be thinner in these areas and more prone to damage.
Once the damage has been assessed, it’s time to decide which repair method to use. If the damage is minor, such as small chips or scratches, you may be able to fix it with a simple epoxy resin. Or, you may need to use a more specialized product, such as a polyurethane-based filler, to fill in larger cracks or gouges. If the damage is extensive, you may need to replace sections of the floor or even the entire floor.
Clean the Area
Sweep up the area to get rid of dirt and grime, and then you’re ready to start the repair. Use a broom and dustpan or a vacuum cleaner to remove any dirt and debris from the surface. Take care to remove any pieces of epoxy that may have been chipped off during the damage assessment. This will help ensure that the repair is even and consistent.
Once the area is free from dirt and debris, use an all-purpose cleaner to clean the surface. Make sure to scrub any areas stained by foreign substances, such as oil or grease. If needed, use a brush and a degreasing agent to thoroughly clean the area.
Repair Major Wear and Tear
Take a look at your flooring and see if there’s any wear and tear that needs repairing. If so, it’s time to grab your tools and get to work!
The most important aspect of repairing significant wear and tear is to make sure you have the right tools, such as a putty knife, sandpaper, and epoxy-based paint. It’s also important to make sure you have a good understanding of the steps required to repair the wear and tear properly.
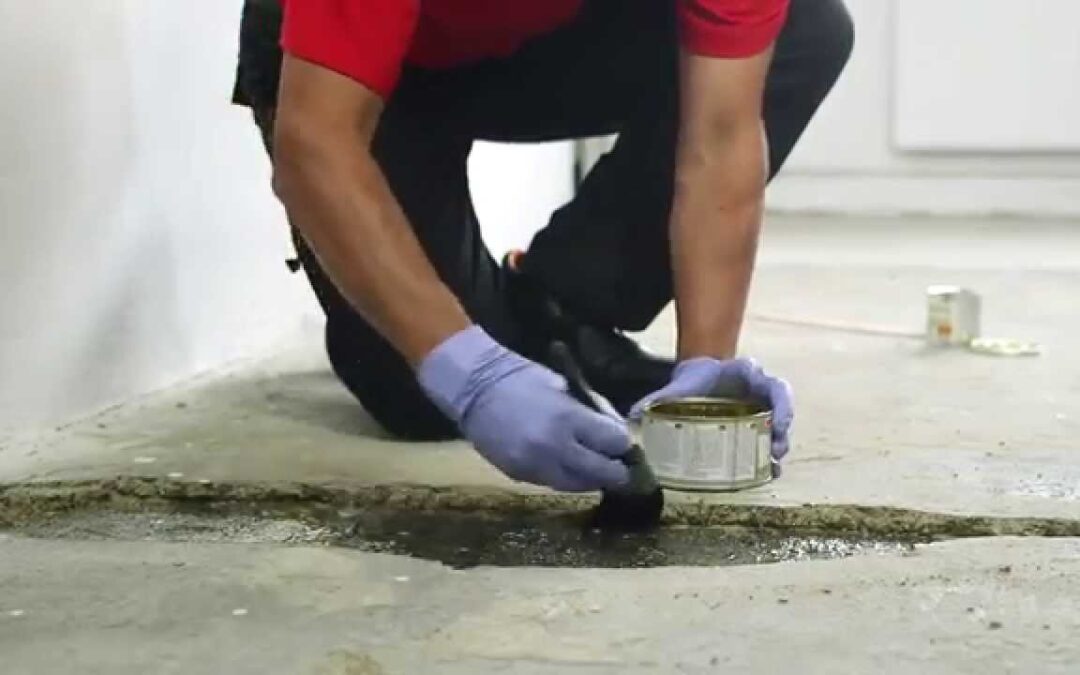
Start by cleaning the area with a degreaser. Then, use the putty knife to scrape off any chips or pieces that have come loose. After that, sand the area to smooth out any rough spots and create a uniform surface.
Next, you can apply epoxy-based paint to the area to match the existing floor color. Finally, you’ll need to seal the area with a clear coat of epoxy. This helps to protect the area from future wear and tear and keeps the repaired area looking great.
Repair Stains and Discoloration
Spot discoloration on your epoxy flooring? Don’t worry, you can quickly repair it with a few simple steps!
To restore your epoxy floor’s original luster, you’ll need to:
- Clean the stain with a non-abrasive cleaner
- Neutralize the area with a pH-neutralizing agent
- Rinse the area with water
- Apply sealant to the area to protect it from further damage
Following these steps will help you repair the stain and discoloration on your epoxy flooring.
Re-Seal the Entire Floor
To keep your floor looking its best, it’s important to periodically re-seal the entire floor to protect it from further wear and tear. The best way to do this is to start by sweeping and cleaning the entire floor to remove any dirt, dust, and debris.
After this is done, you can then apply the appropriate epoxy sealant to the floor, taking care to ensure that it is evenly applied. To ensure a professional finish, use a roller or brush to spread the sealant evenly. Depending on the manufacturer’s instructions, you may need to wait for the sealant to dry before applying a second coat.
Let the Floor Cure
Once the sealant and wax are applied, it’s time to let the floor cure for a few days before it’s ready to use. During this time, it’s essential to keep the area clear and free of foot traffic. This helps ensure the sealant and wax have the opportunity to adhere properly to the floor.
The curing process is also necessary to give the floor time to become completely dry so that it is ready to be used and walked on safely. While the floor is curing, it is important to monitor the temperature and humidity levels in the room. Keeping these levels within a specific range will help the floor cure evenly and adequately.
Maintain the Floor Regularly
Once the epoxy floor has cured, it’s vital to maintain it regularly in order to preserve its condition. Regular maintenance should include cleaning the floor and checking for signs of damage or wear. Depending on the type of epoxy flooring, it may need to be resealed periodically to protect it from any potential damage.
It’s crucial to clean the epoxy floor regularly, as dirt and debris can cause the surface to become scratched or discolored. Using a vacuum or a broom can help remove dirt and debris from the floor. Avoid using a mop unless specifically suggested by the epoxy flooring manufacturer, as this could cause the floor to become slippery.
Taking the time to maintain the floor regularly will help keep it in great shape for years to come. With a little bit of effort, you can enjoy a beautiful and long-lasting epoxy floor.
Recent Comments